
Project - Building Blocks
“Simple, But Great Practice”

In order to become good with a skill, it takes practice. It may seem boring, but it’s true.
“Mr. Stinson, you make using a handsaw look easy.”
“I hope so, I’ve had hours of using it.”
The truth is that when I was young and a beginner, I cut like crap. It was HORRIBLE! Nothing was straight. After years of woodworking, my cuts are straight. Part of it was getting a good backsaw, the other part was HOURS of practicing and developing a good technique.
The problem is, it gets boring cutting and cutting and cutting and only producing sawdust and small pieces of wood. So, let’s make some building blocks as part of our practice. If we use inexpensive lumber, if they don’t come out good, we can use them as firewood or throw them away. And when we get good at it, we can use scrap pieces of nicer lumber to make better looking blocks later.
These blocks of wood could turn into:
Building blocks for a small child
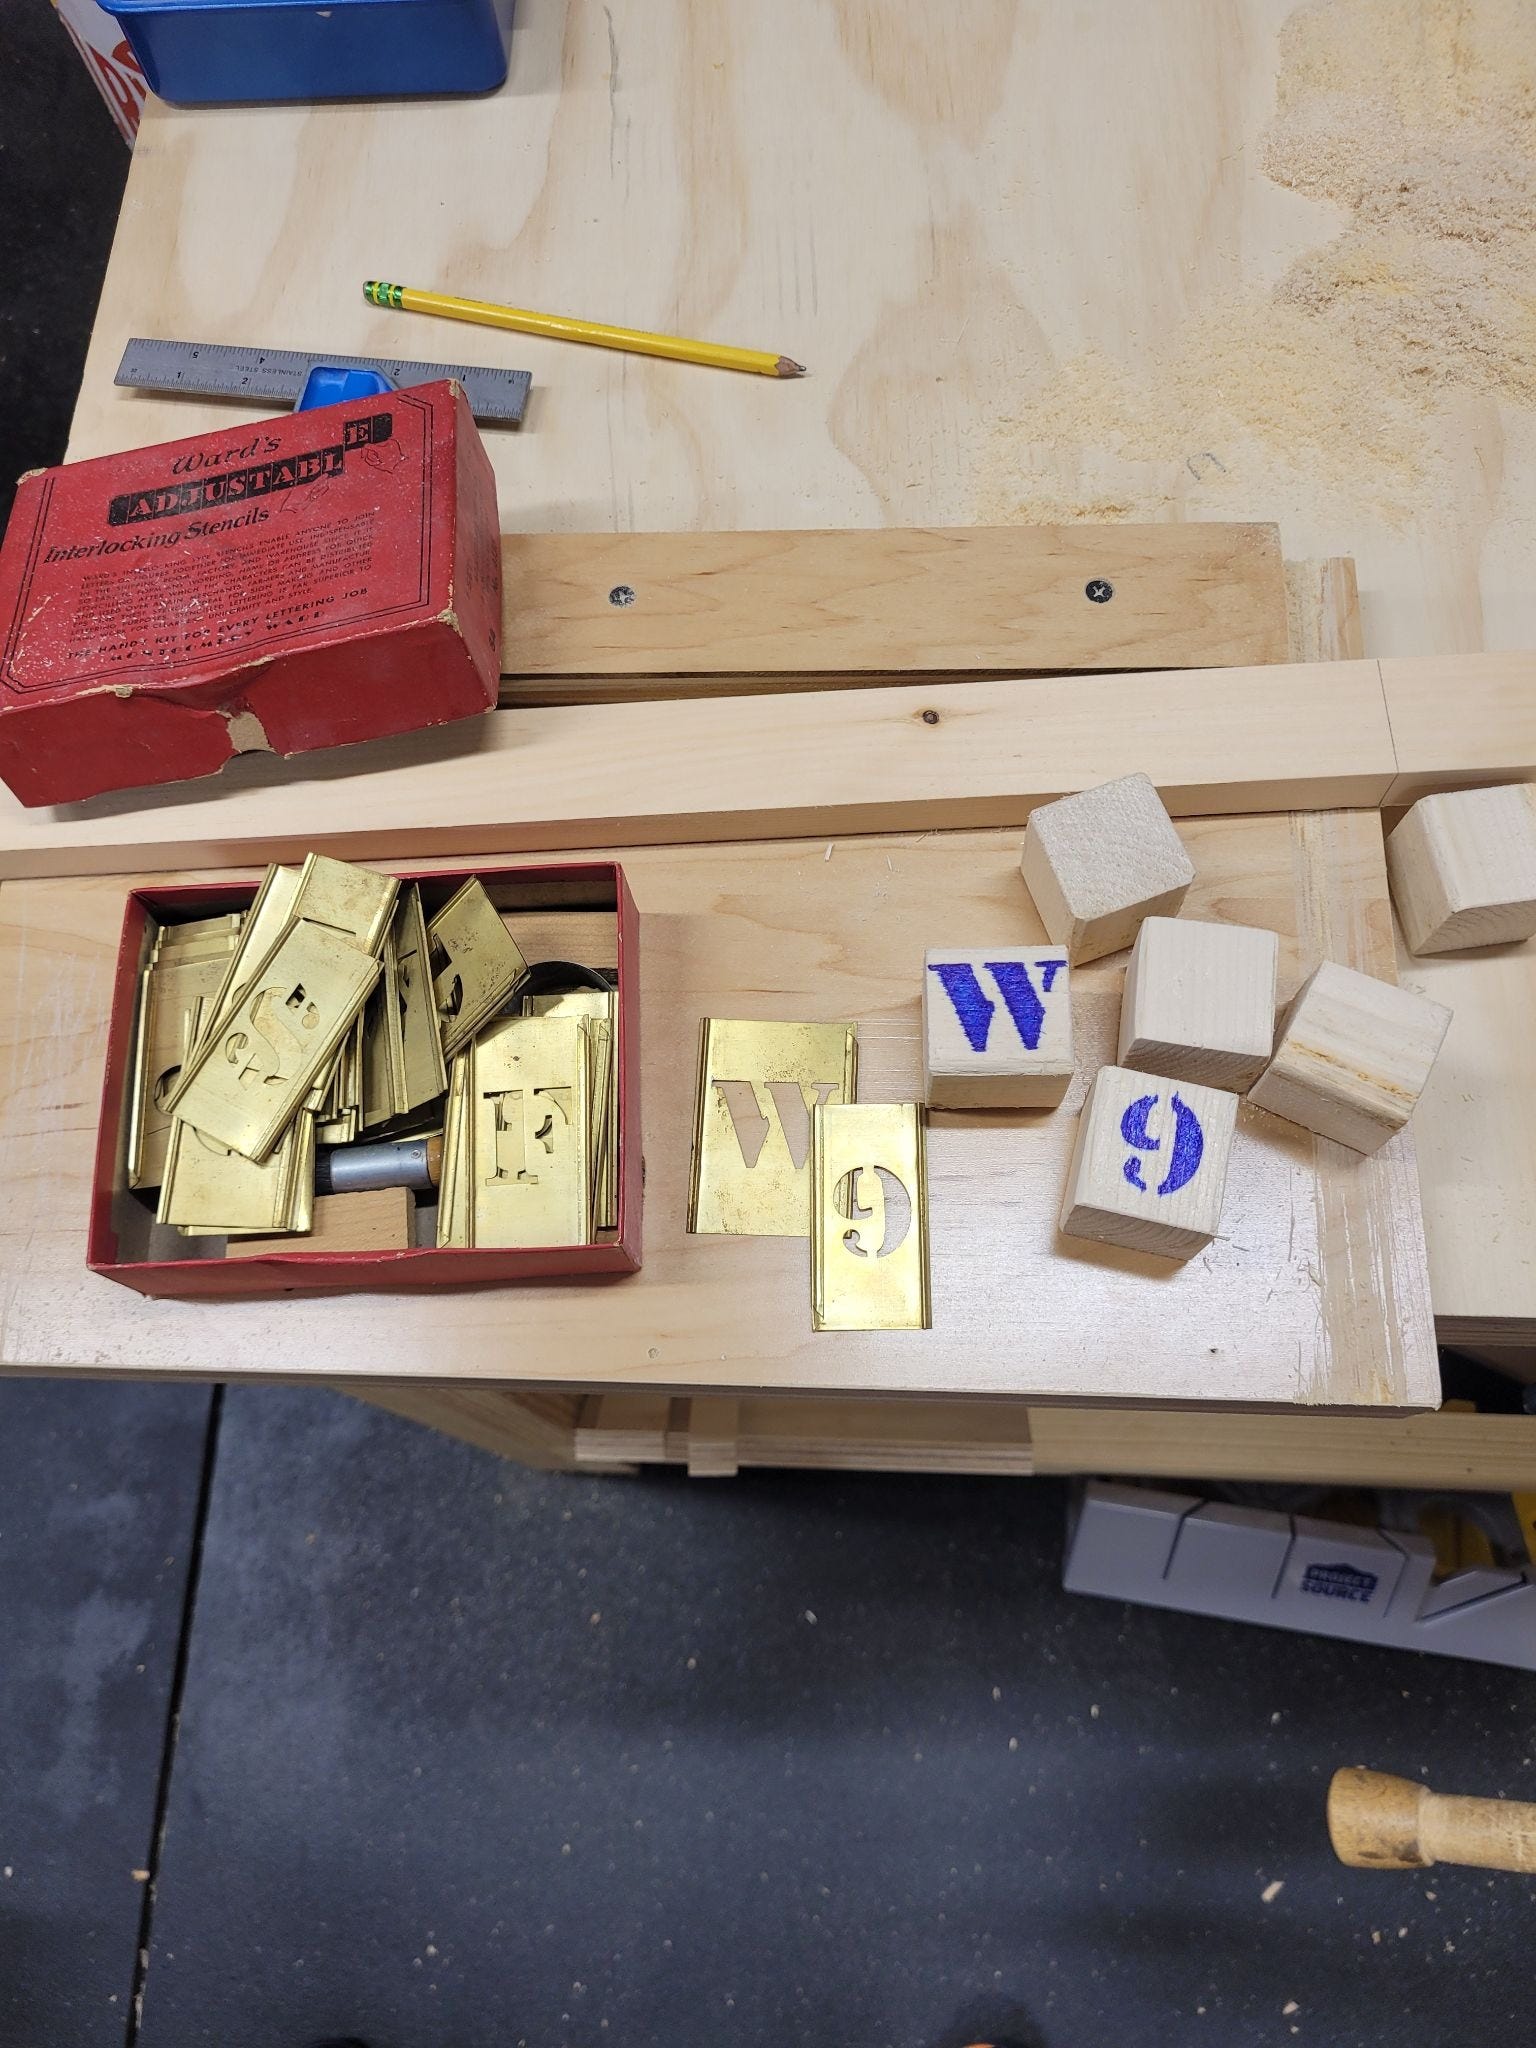
A name block for someone’s desk
A motivational addition to a kitchen, desk, or…
Sanding blocks for woodworkers
…
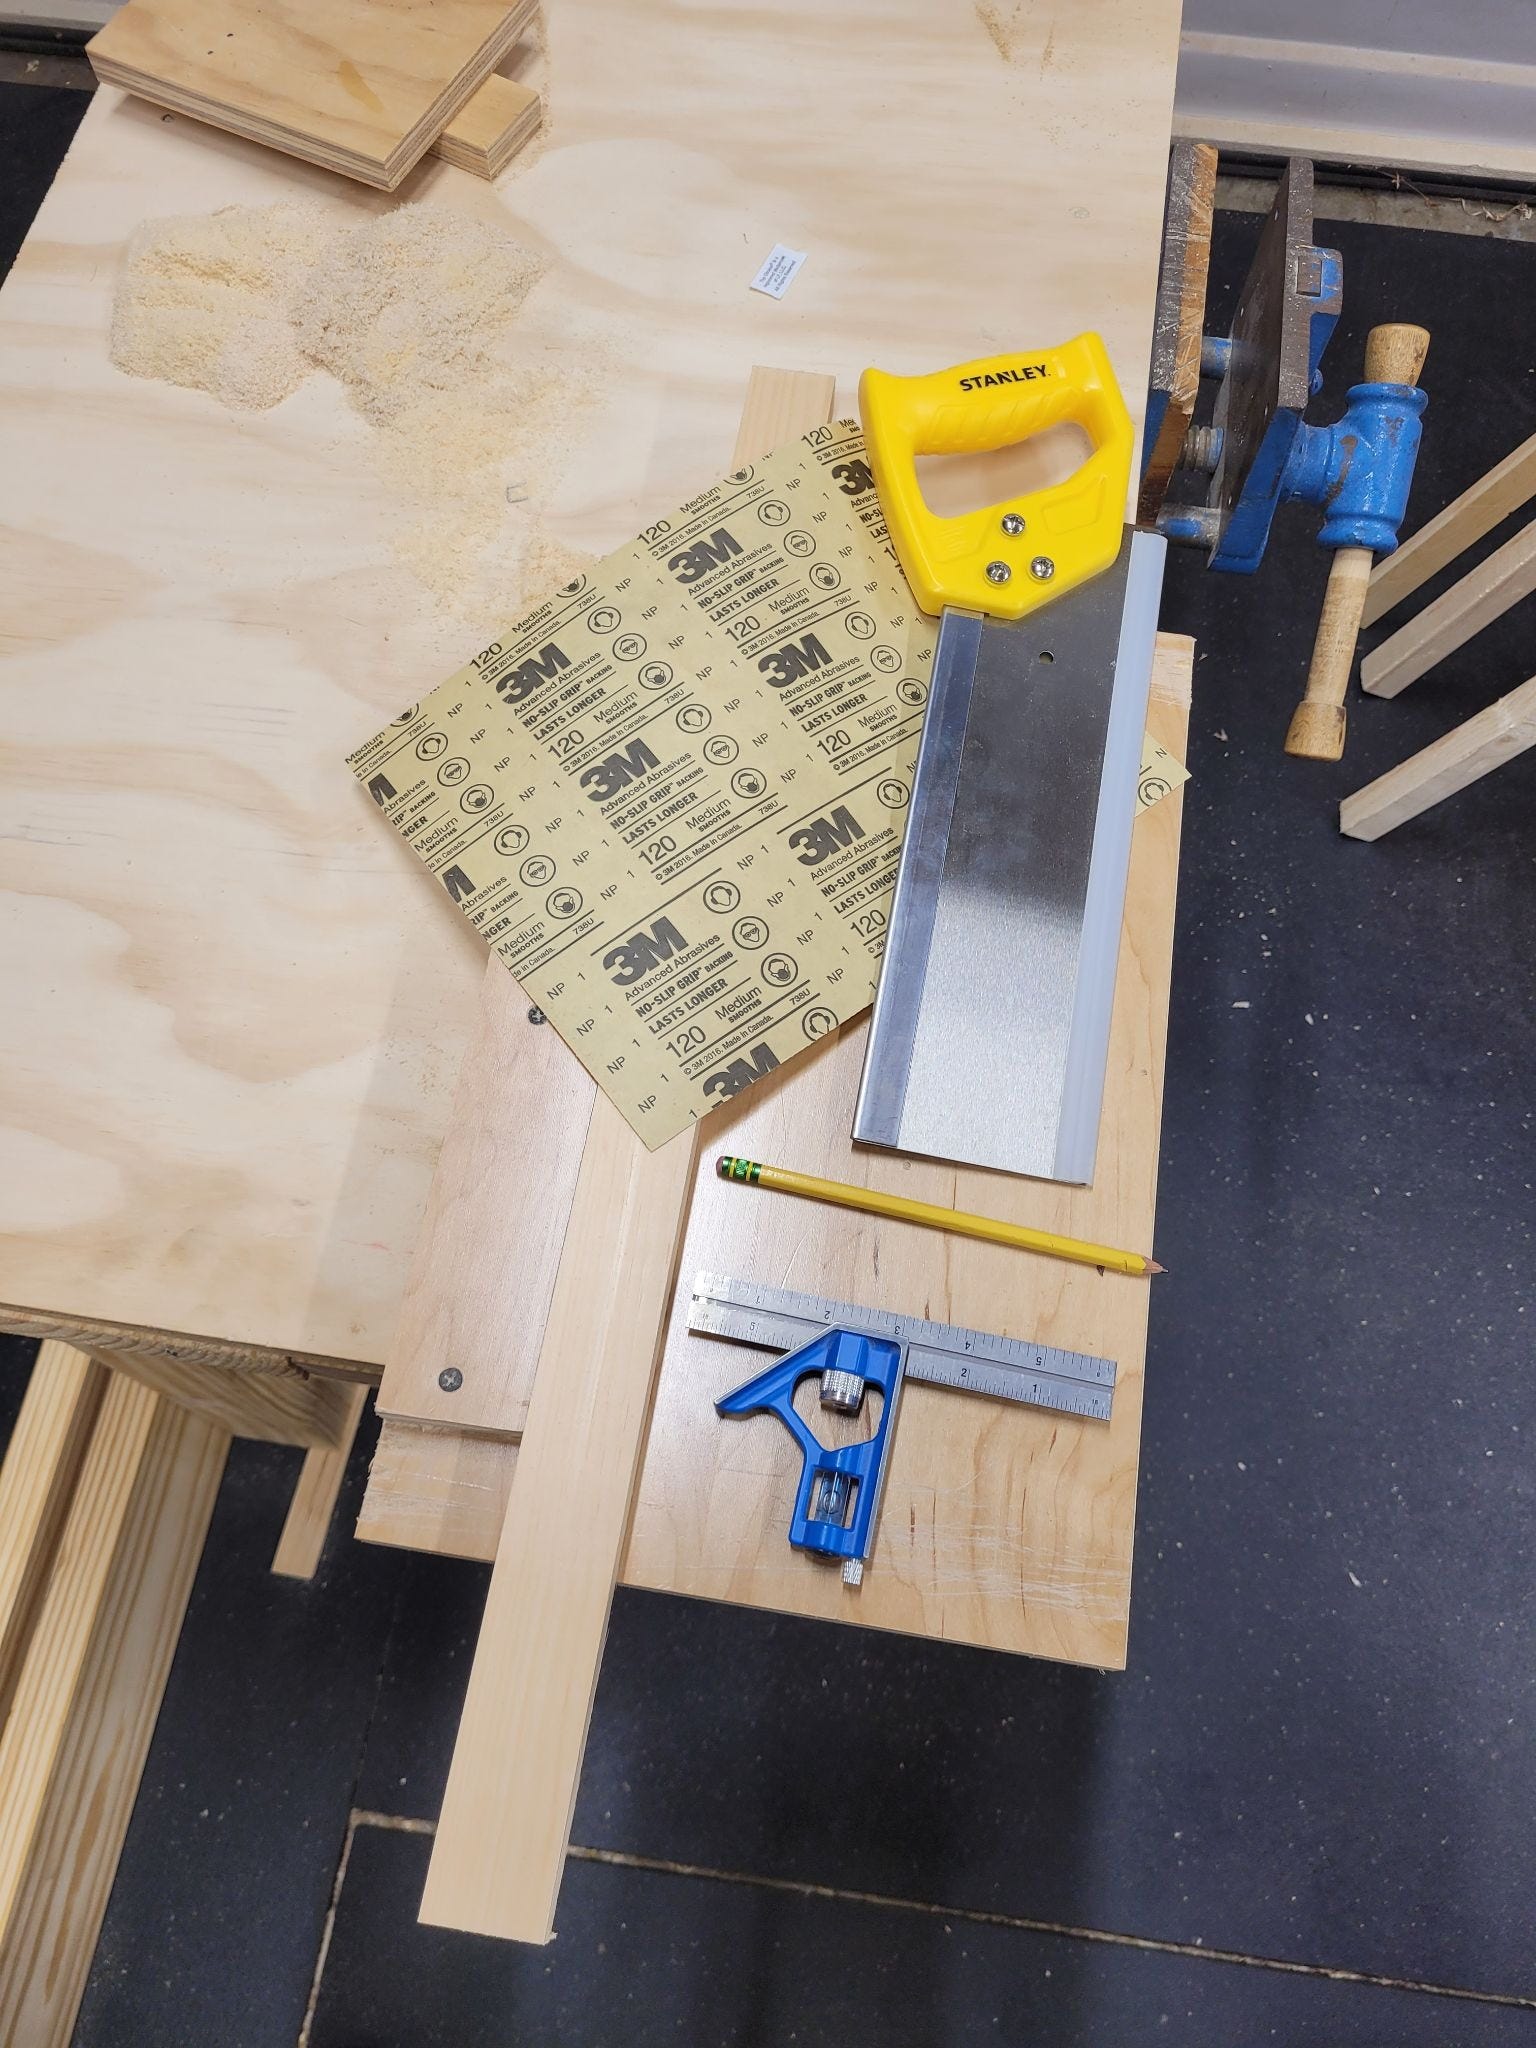
The tools that we need:
Backsaw
Bench hook
6” combination square or other square
Pencil
Sandpaper (120-180 grit)
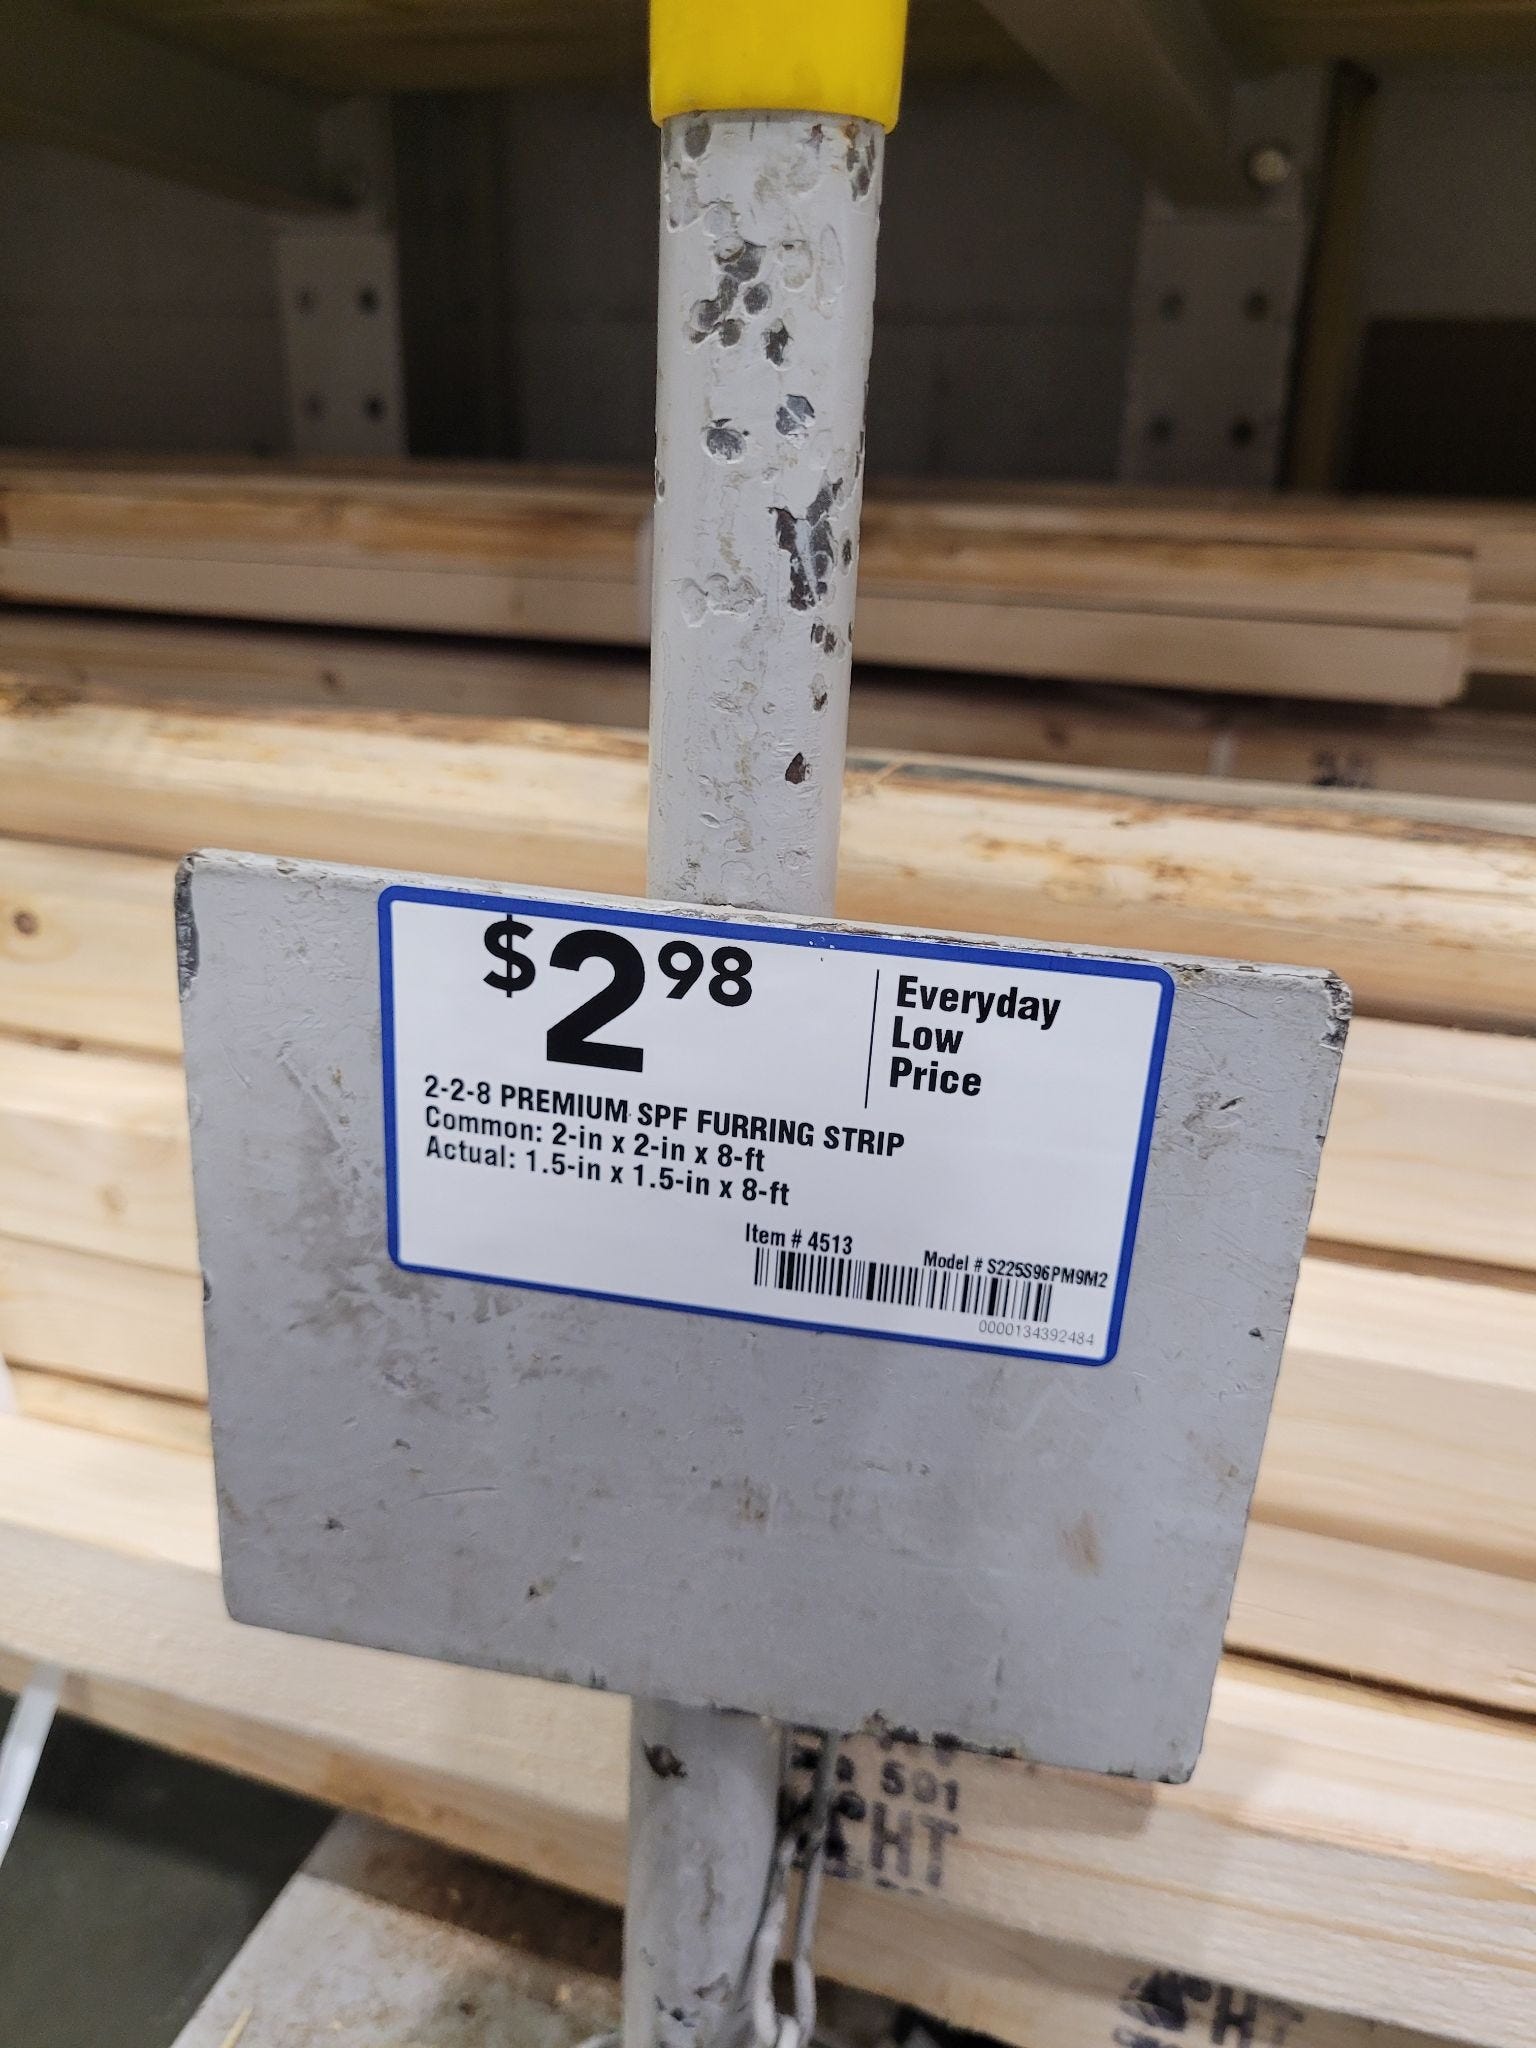
Lumber [I recommend starting off with inexpensive furring strips or 1”x2” material]
Starting off.
Mark the board on its face and edge to give us two lines to guide us. This should help us to keep straight across and straight vertically (plumb).
Keep the mark close to the end of the back support piece of the bench hook. If our line gets too far out, it’ll create a levering action.

Use a bench hook to help hold the piece of lumber. If we have a longer piece, we can use our bench hook helper to hold one end of it.
Maintain a straight line between the tip of the saw, our wrist, and our elbow to set ourselves up for success.

Keep the saw plumb (vertically straight). [If you need a little help, use your pointer finger and/or thumb of your off hand to steady it while starting to cut.]

Soft touch. If we’re too aggressive, the saw teeth will bite in instead of cutting.
Let the saw cut. We’re not applying a lot of downwards force instead, we’re pushing the saw forward, focusing on keeping the saw straight and plumb.
Watch the lines but focus on our technique. Once we cut down into the wood, we’re not going to be able to change direction so just let it cut.
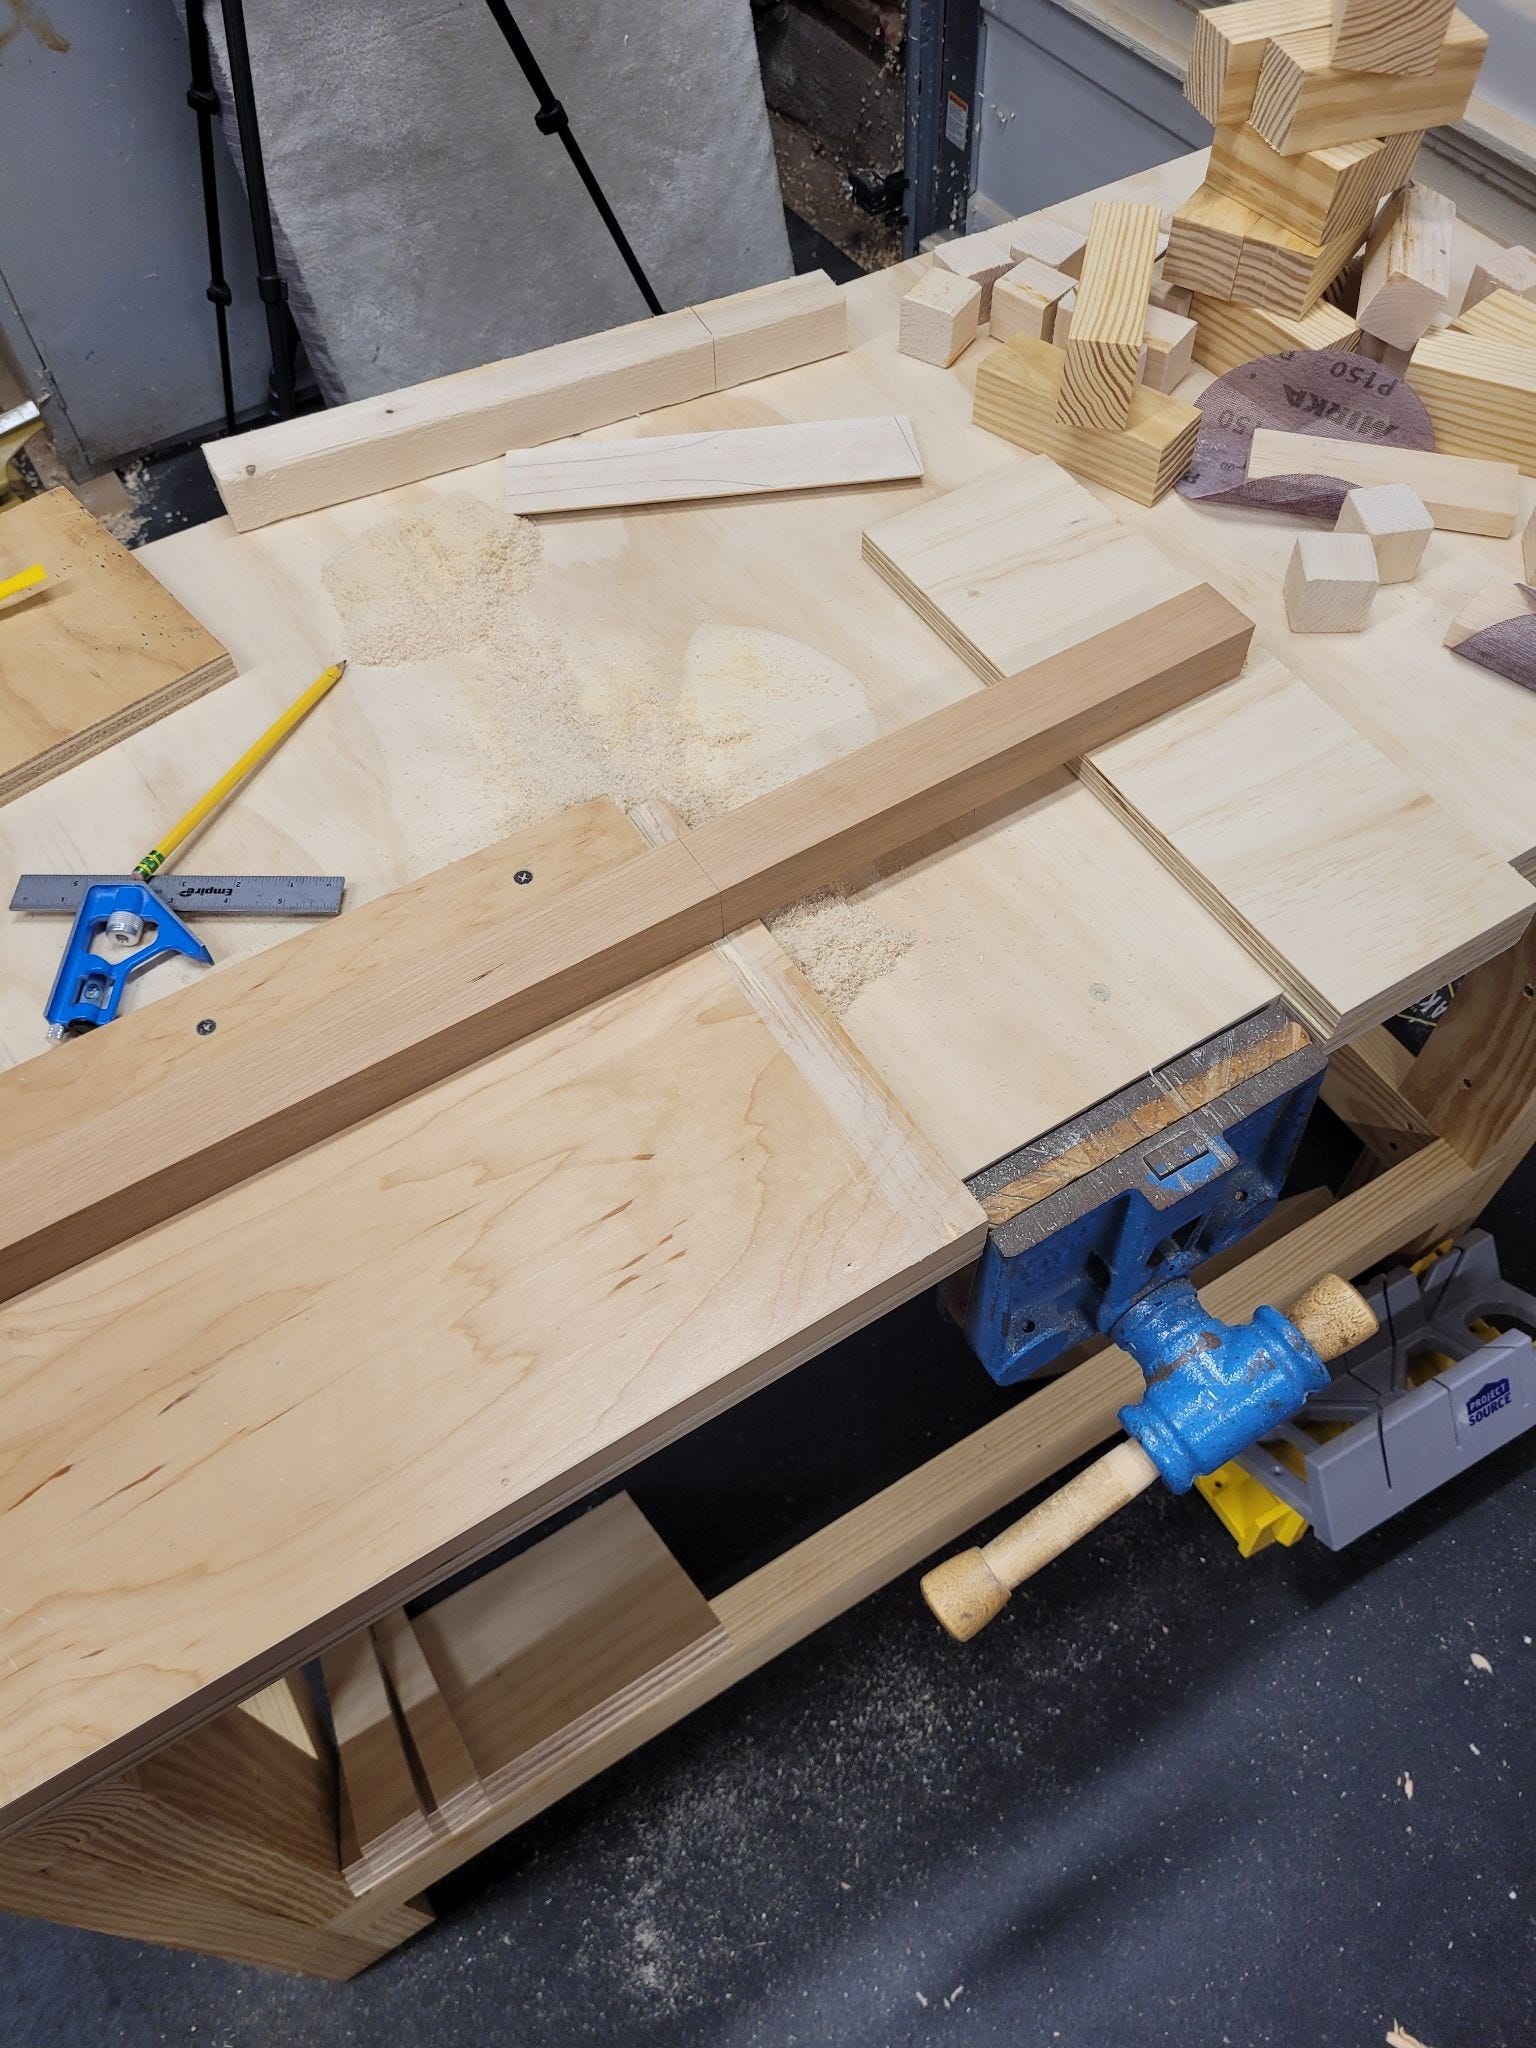
Check our work. Set aside the good blocks, throw away the bad ones (or save them for a fire).
Sand the edges of the blocks.
Do it again. And again. And again.
This isn’t anything special but the (good) practice will help us to become better. How do we make it fun?
Don’t sit there for hours, instead do it for 10-20 minutes and then go do something else. Come back to it.
Make some simple stuff like building blocks or desk name plates.
Get some scraps of different types of lumber to get a feel for the different hardness.

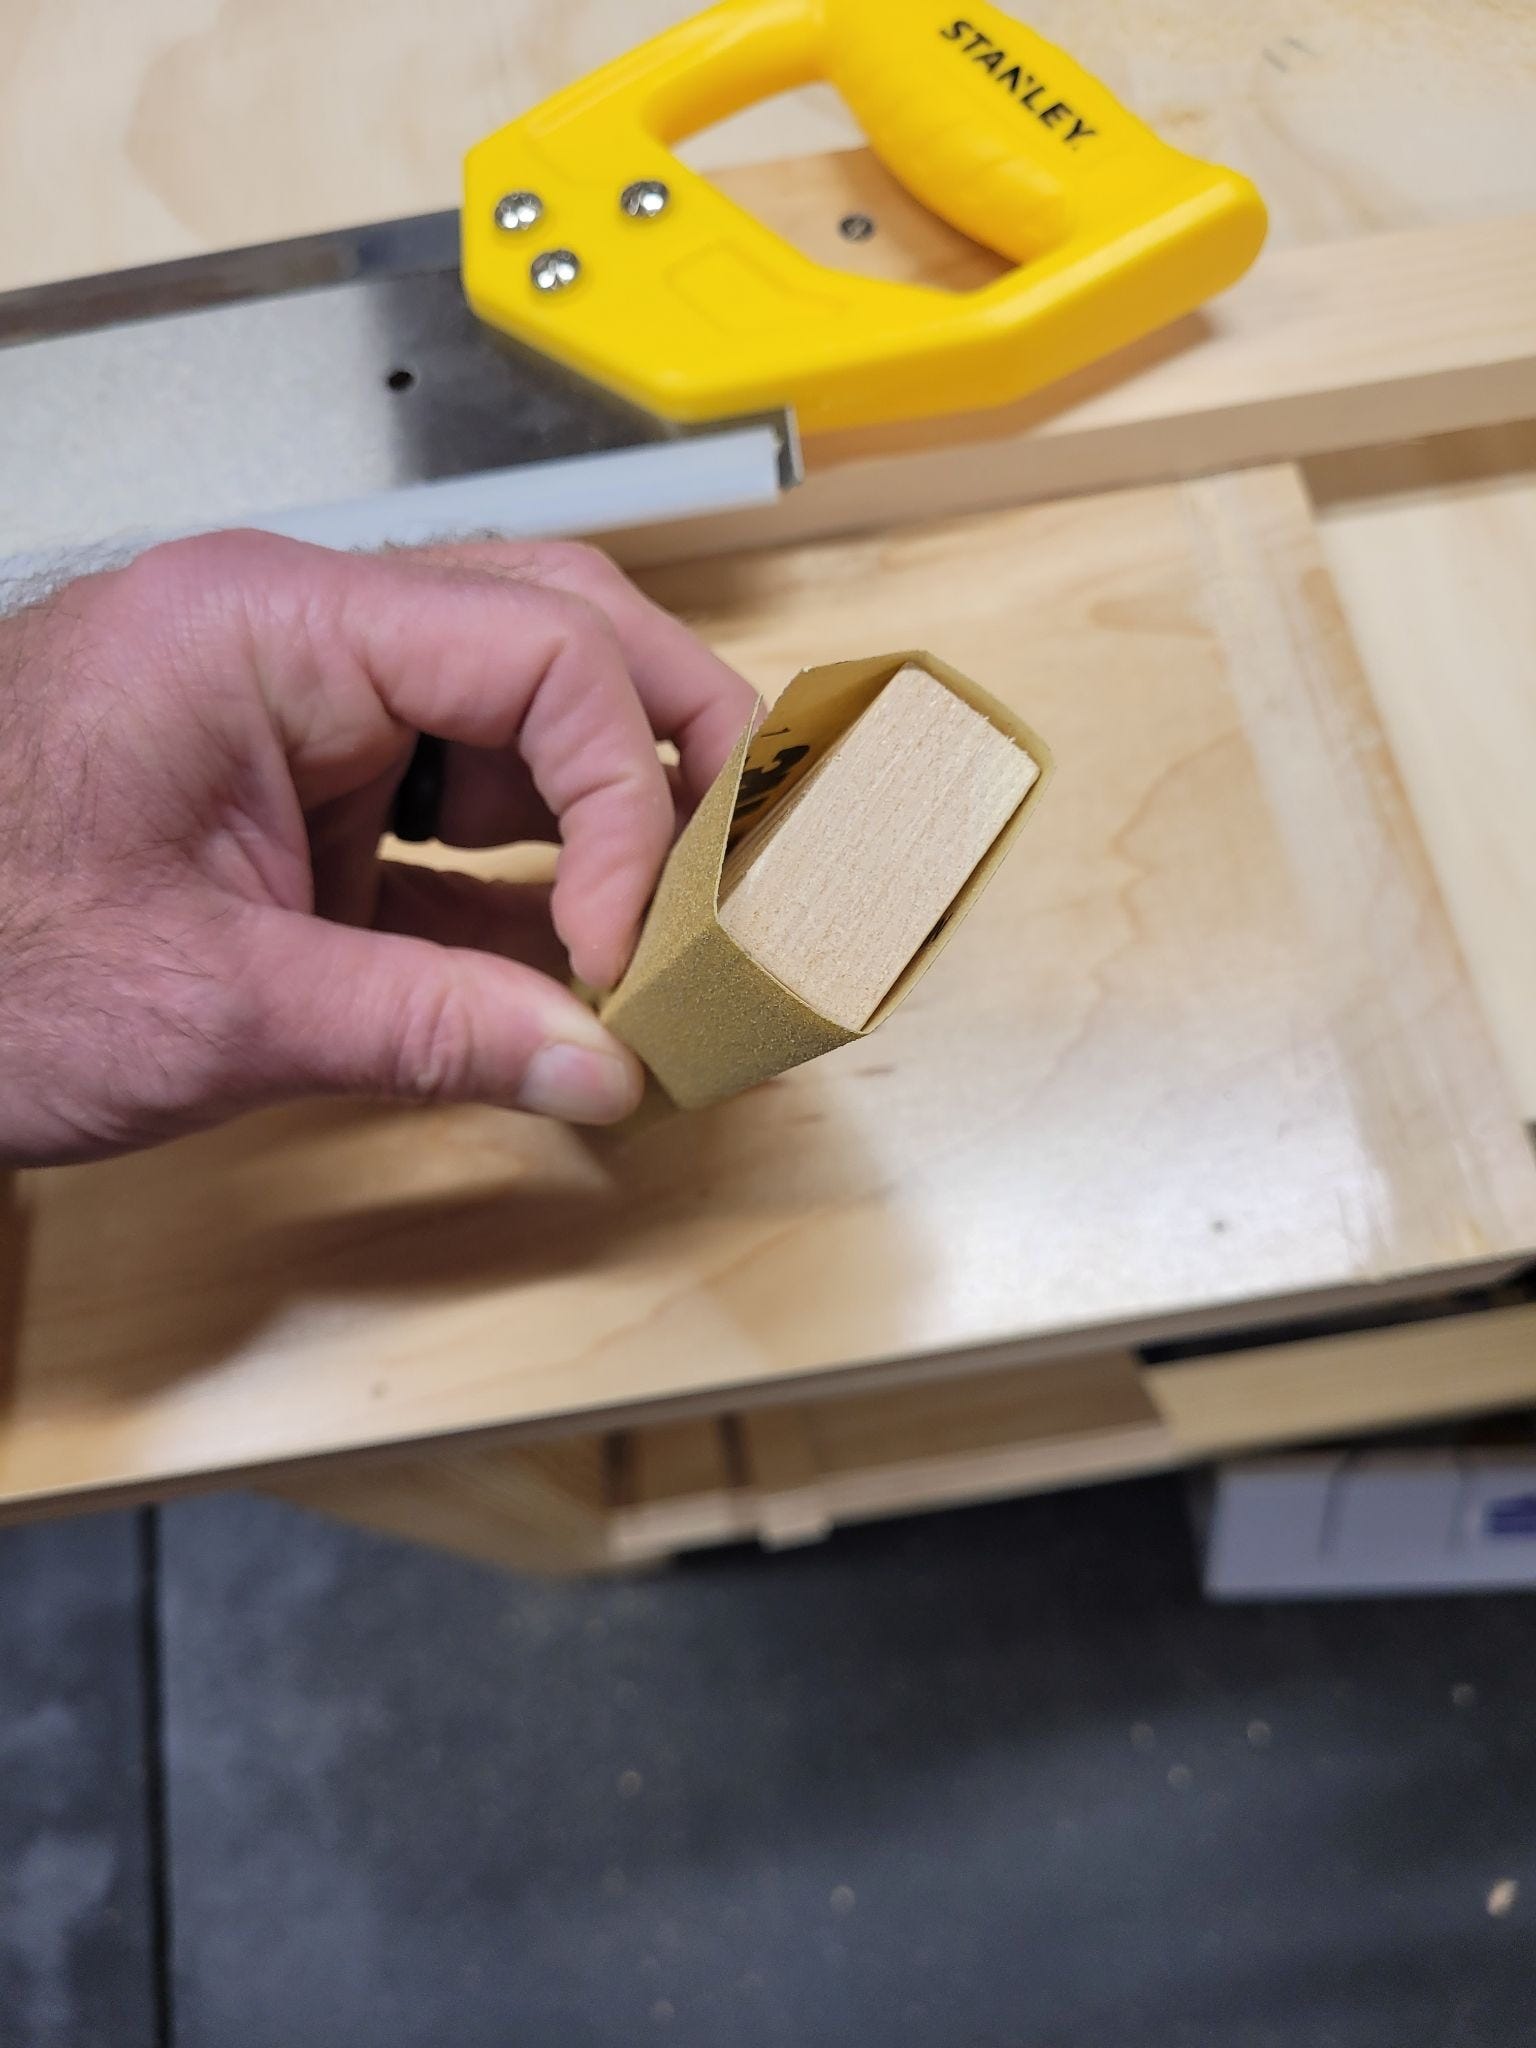
Take one of the blocks of wood and cut it to the length of a piece of sandpaper (¼ of a full sheet). Now you have a sanding block.
I hope this simple project will help you to build an important skill. All of our projects will include cutting material down to a certain length so we want to start to become better with cutting with a handsaw.
Here’s a short video to help demonstrate the process.
If you have any questions or concerns, please let me know.