
A Shelf Project
“Gotta Put Your Stuff Somewhere”

I love seeing the creativity of my students as they work on this project. Armed with a hammer, nails, and a basic hand tool set they create an object that holds their precious belongings.
It’s a basic project but it’s useful and opens the mind to understand how to build other things.
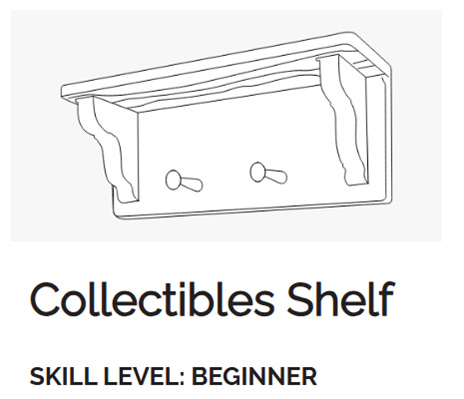
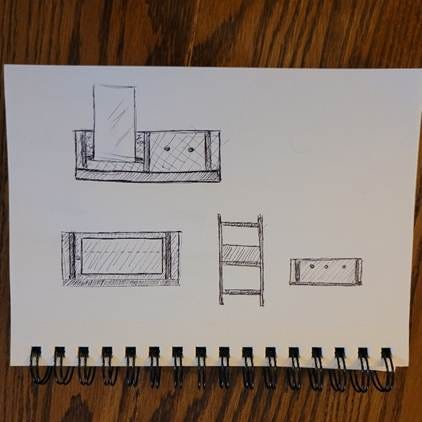
Using the plans for the Minswax Collectibles Shelf and some plans that I drew up, students are able to adapt it to their needs. The simple, straightforward construction also helps them to realize that there are other possibilities. Let’s explore a few options today and get you started planning your project.
The first question before building a shelf is what do you want it to hold? Trophies… Legos… hats… books… towels… measurements will need to be taken so you’ll know that your stuff will fit on it. These plans also discuss making it a paper towel holder.
The second question before building a shelf is where will it go? Make sure your shelf fits the space allotted for it.
I’m going to show the steps that I took to build a paper towel holder/shelf, loosely following both sets of plans, and showcase some of my students’ work to help you get an idea for your shelf.
Don’t focus too much on the cut list and lumber that I used. Make the shelf whatever size you want or based off of the lumber that you have on hand or available. This is only a guideline.
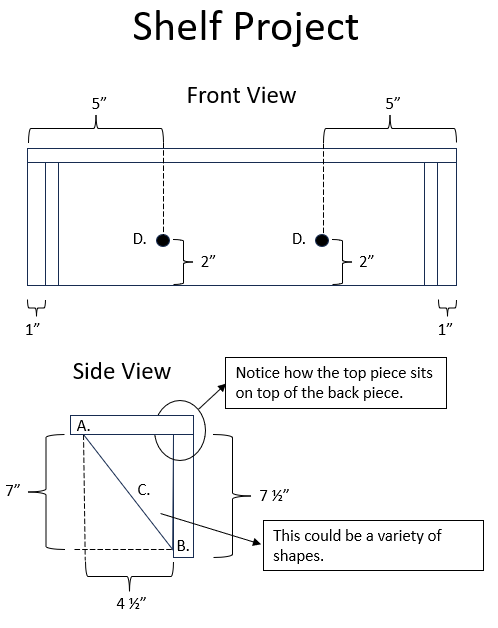
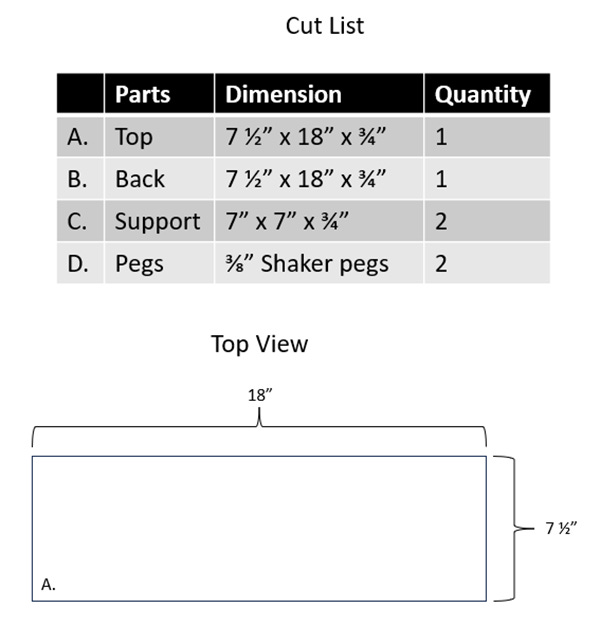
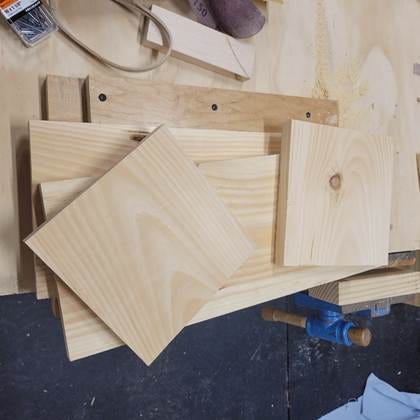
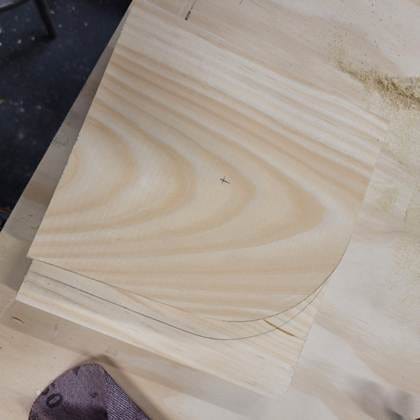
After sketching up some ideas and looking at the lumber that I wanted to use for this project, I cut the pieces to size. The top and back piece are the same length and width and the side pieces will need to be cut down and into the desired shape. Since I wanted to make a paper towel holder, I kept the side pieces fairly big but gave them a curve. I traced a round piece of sandpaper for the curve.
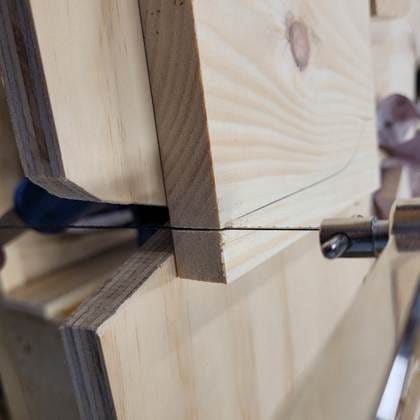
Cutting the supports out with the coping saw. Note, I’m keeping the coping saw plumb (vertically straight) and within the V notch of the jig.
I use a rasp and then sandpaper to clean up the edge of the side support pieces. Don’t forget that the rasp is directional.

I follow the rasp with sandpaper wrapped around a block of wood.

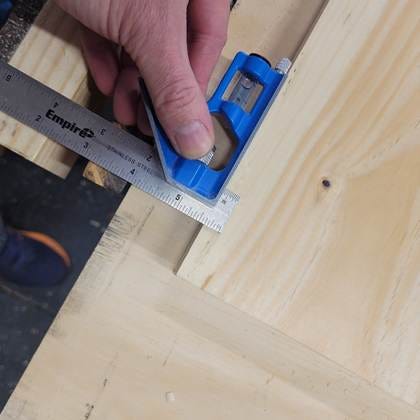
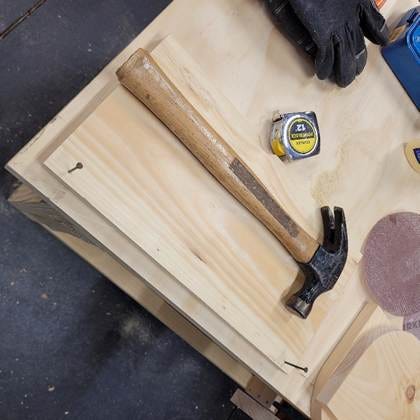
I mark the layout on the top piece where the nails need to go. I’m aiming for the center of the back piece. The back piece is ¾” thick, so I inset the marks ⅜”.
Then, I drill (only) some nail holes on the top piece. I use a ¹⁄₁₆” bit for this.
I like to prep the pieces and put a couple of nails in partially to make construction easier. Especially when I’m working by myself.
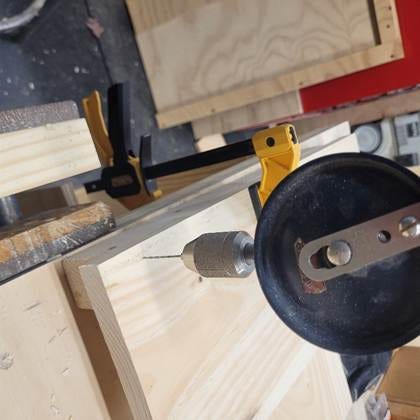
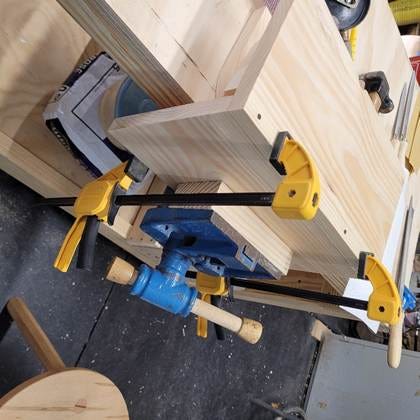
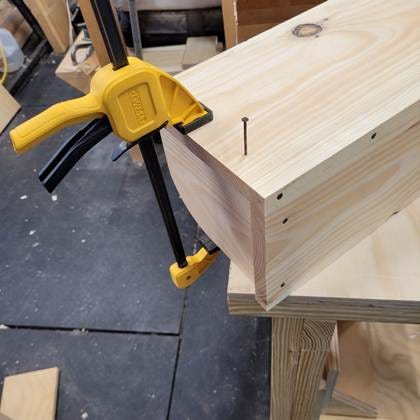
When I’m working by myself, clamps come in handy to hold the pieces while I’m nailing.
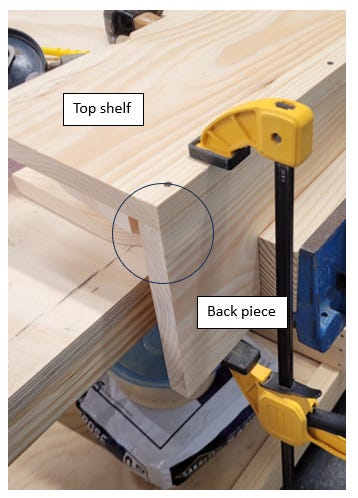
Notice how I’ve constructed the pieces. The top shelf is ON TOP OF the back piece to give it strength. Every so often, I’ll have students switch this orientation of the boards.
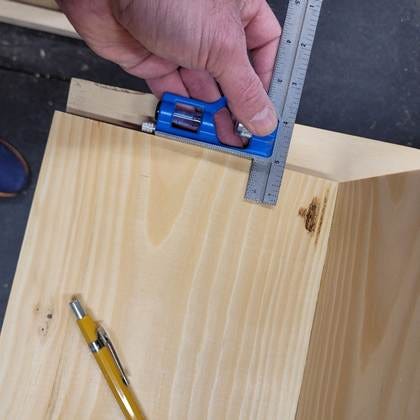
Laying out and marking the edges of where the supports are going to go. While constructing and nailing, I don’t want to have to spend too much time to make sure things are straight.

The side supports can be a pain to assemble. You might need a clamp to help hold things, even if you have another person available to help. Especially while nailing these side supports, set up the shelf so the force of you nailing is being transferred down into the workbench and isn’t moving the shelf around. This is probably the hardest part to do.
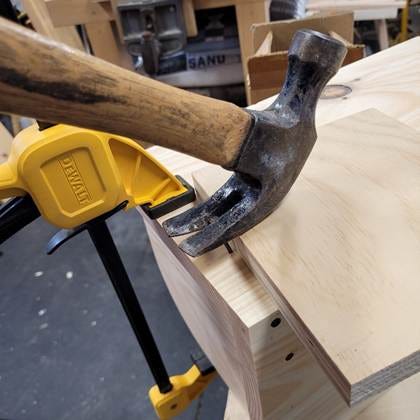
Even Mr. Stinson gets a bent nail or two. Here I am using a piece of plywood for some added height to pull the nail out. Notice how I have the hammer situated so when I pull on the handle, I’m pulling towards the main body of the shelf and not over the edge.
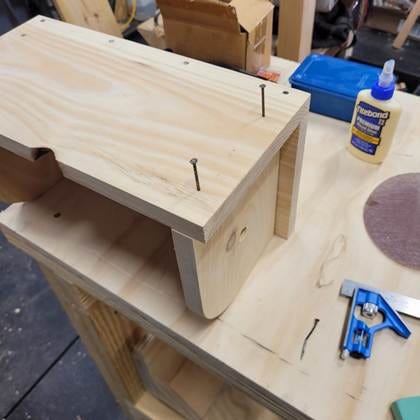
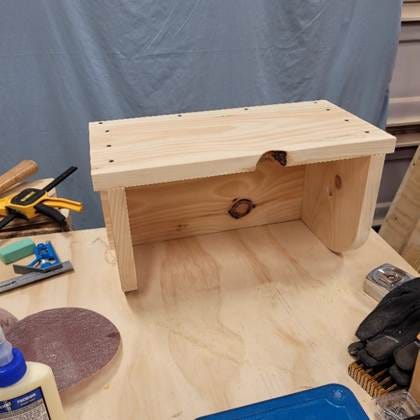
It’s coming together.
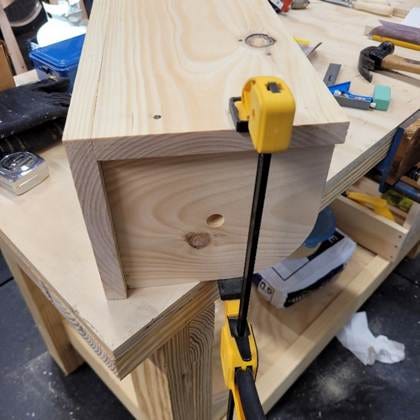
Once again, clamps come in handy.
Ta-da!
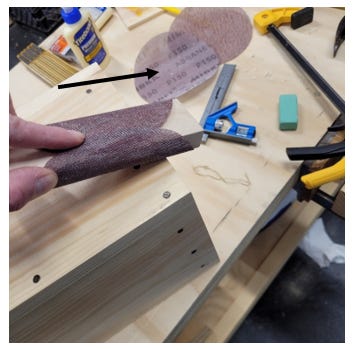
Hit up the edges with some sandpaper.
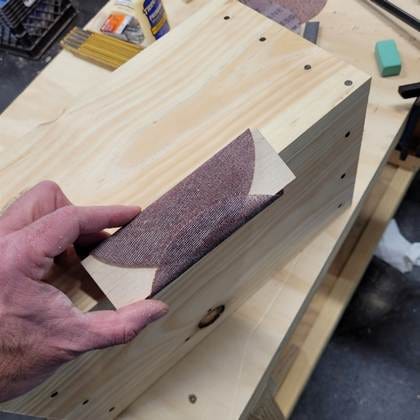
When we sand the edges of our projects, sand with the grain. The block of wood helps to do this.
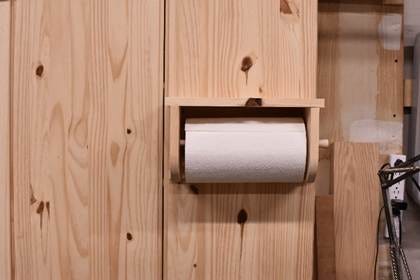
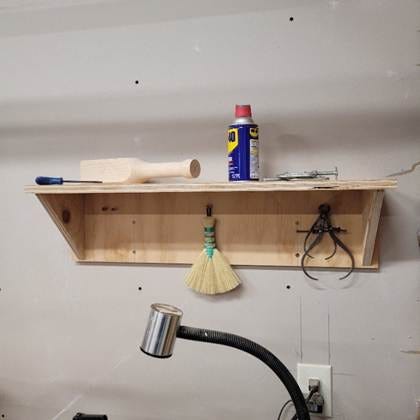
And here it is with the paper towels and the dowel.
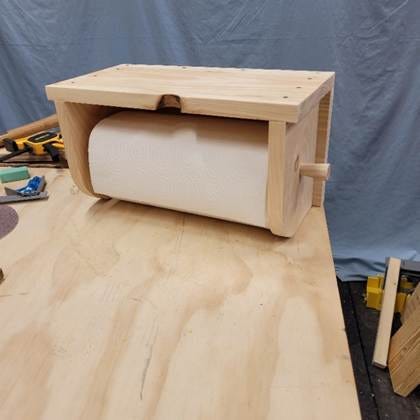
And in its new home.
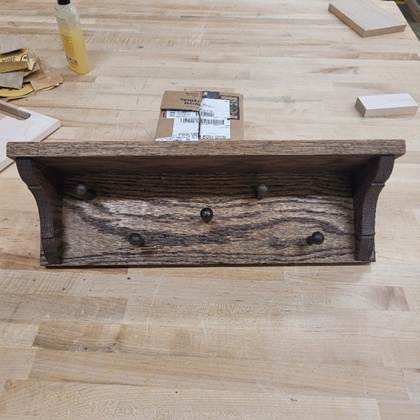
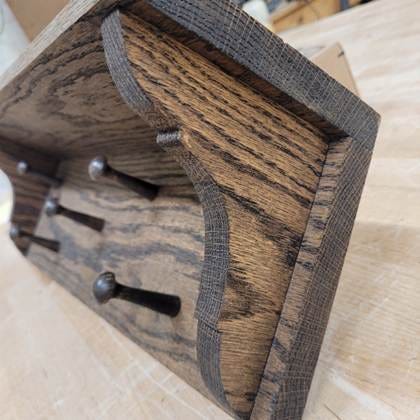
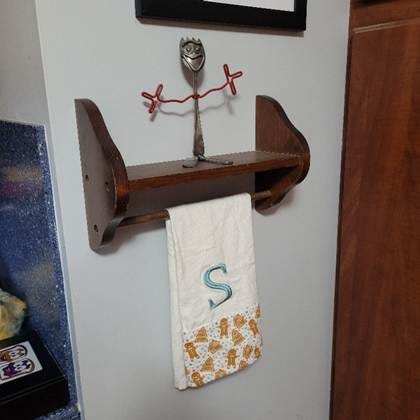
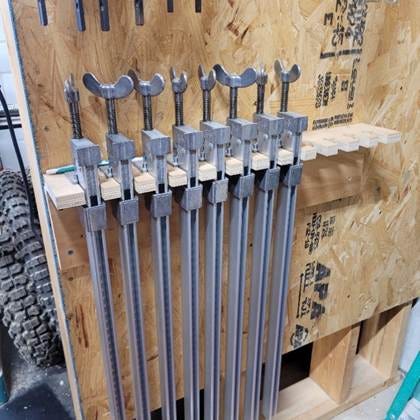
Examples of student work and shelves that I have around the house and in my shop. Many times, I’ll use screws and plywood for utility shelves. Feel free to use whatever fasteners (nails or screws) that you want. I like the looks (esthetics) of the nails but wire nails (modern nails) don’t have the holding power that screws do.
Start sketching and plan a trip to the lumberyard.
Let me know if you have any questions and please share with me your photos when you build this project.